Before and After Jewelry Listing Images: 12 Ideas That Improve Buyer Confidence
Turn one jewelry upload into a stronger listing gallery with before/after edits, detail views, clean backgrounds, and brand-ready lifestyle scenes.
Catalog refresh
Old listing photos can become clearer, more consistent, and more campaign-ready without reshooting every SKU.
Guide path
Launch Workflow
Move a new SKU from source photo to launch-ready images without a reshoot.
Why before and after assets work
Before and after images are useful internally because they show what changed: background cleanup, lighting correction, crop improvement, detail emphasis, or a more relevant lifestyle setting. They can also help teams decide which visual direction fits a collection before publishing.
12 image ideas to test
- Busy tabletop to clean white background.
- Dark phone photo to bright ecommerce crop.
- Flat ring image to soft shadow product shot.
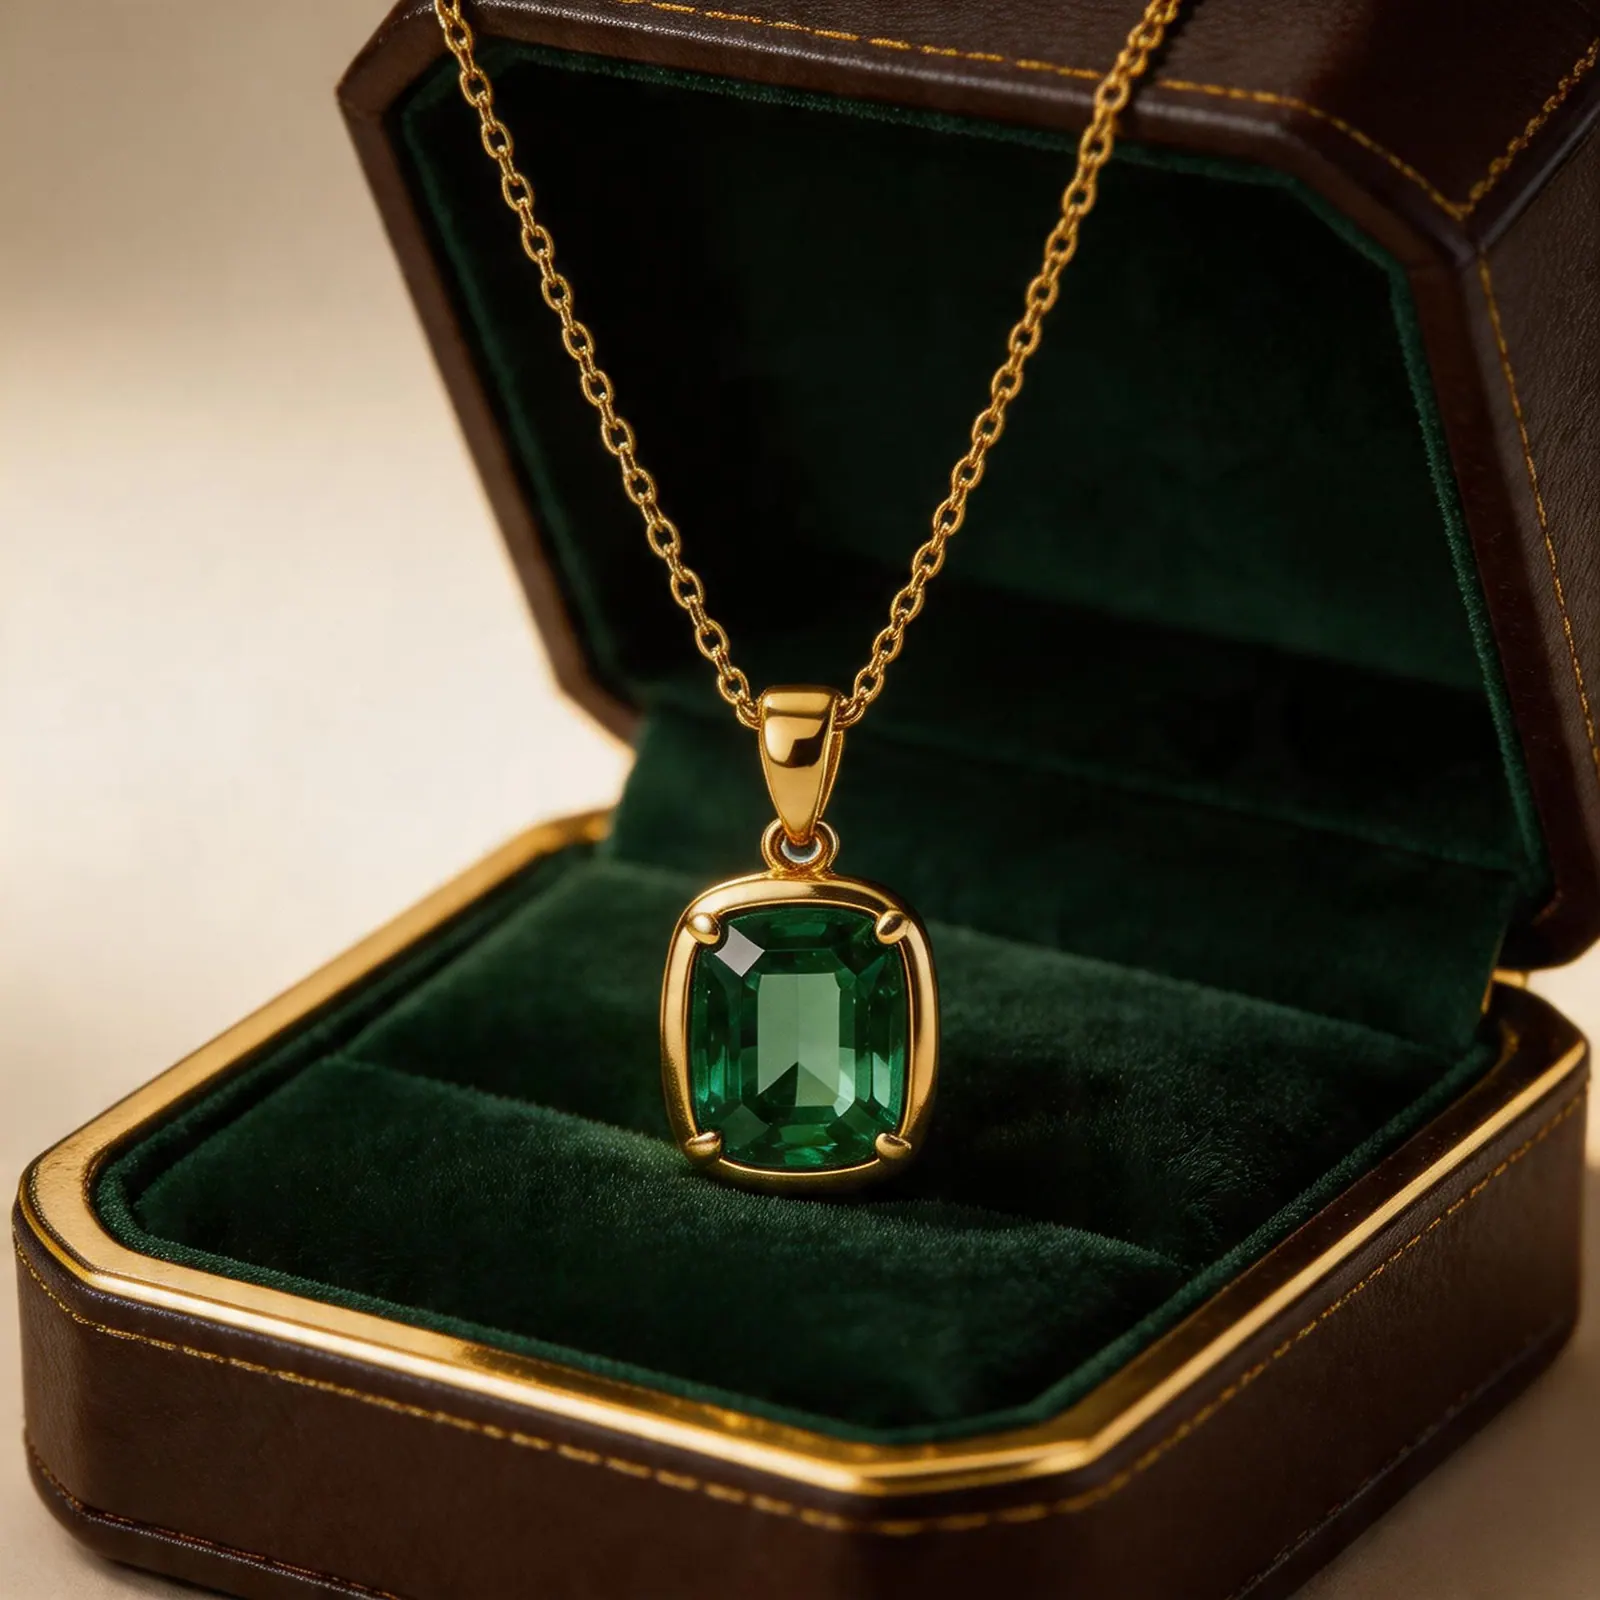
- Necklace photo to premium gift scene.
- Earring upload to close-up texture crop.
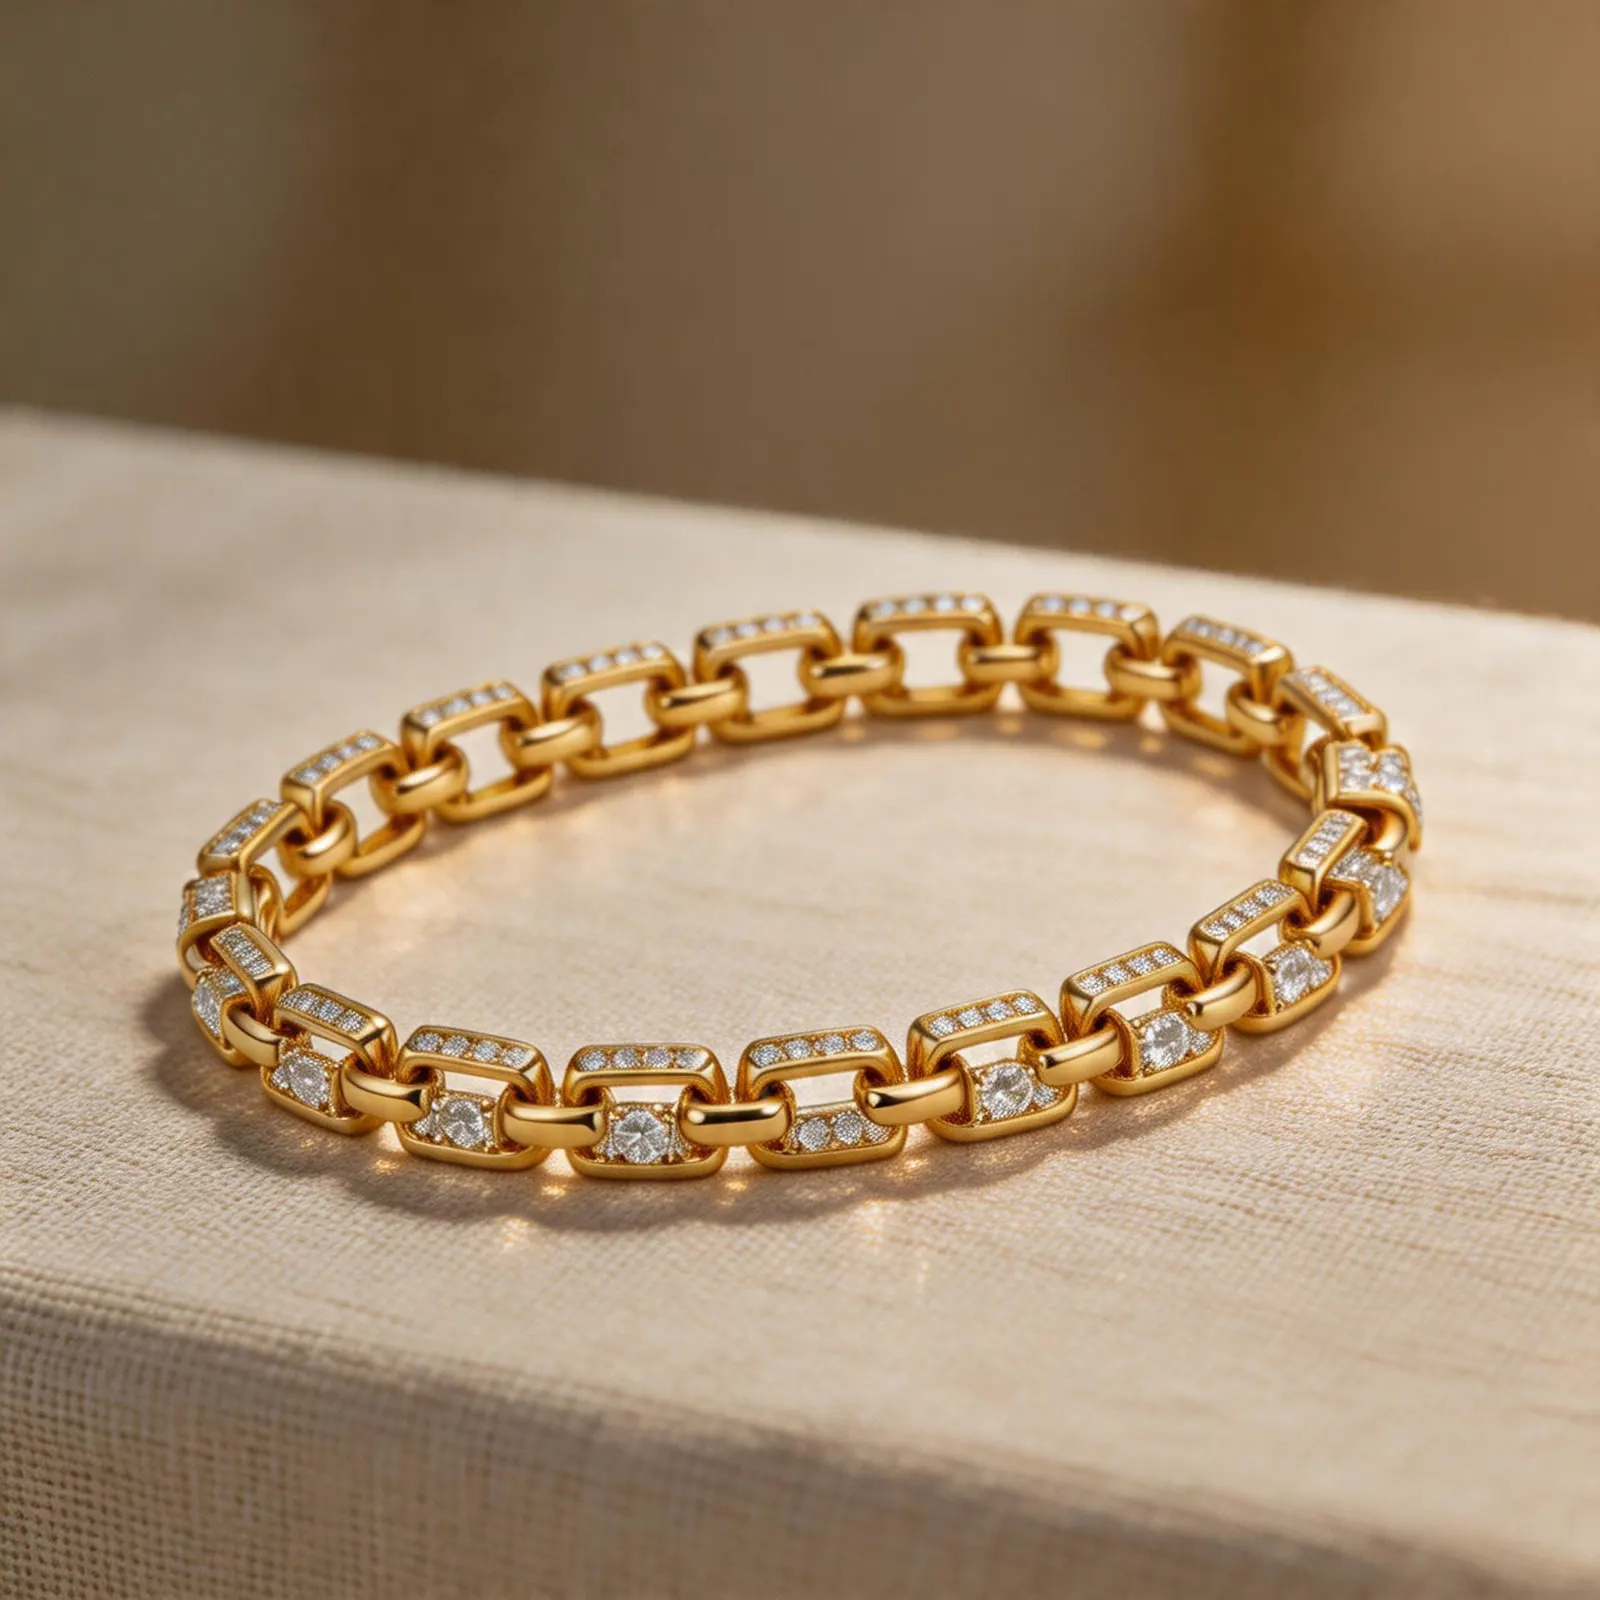
- Bracelet image to scale-focused wearing preview.
- Pendant image to collection banner crop.
- Silver product to cooler minimal backdrop.
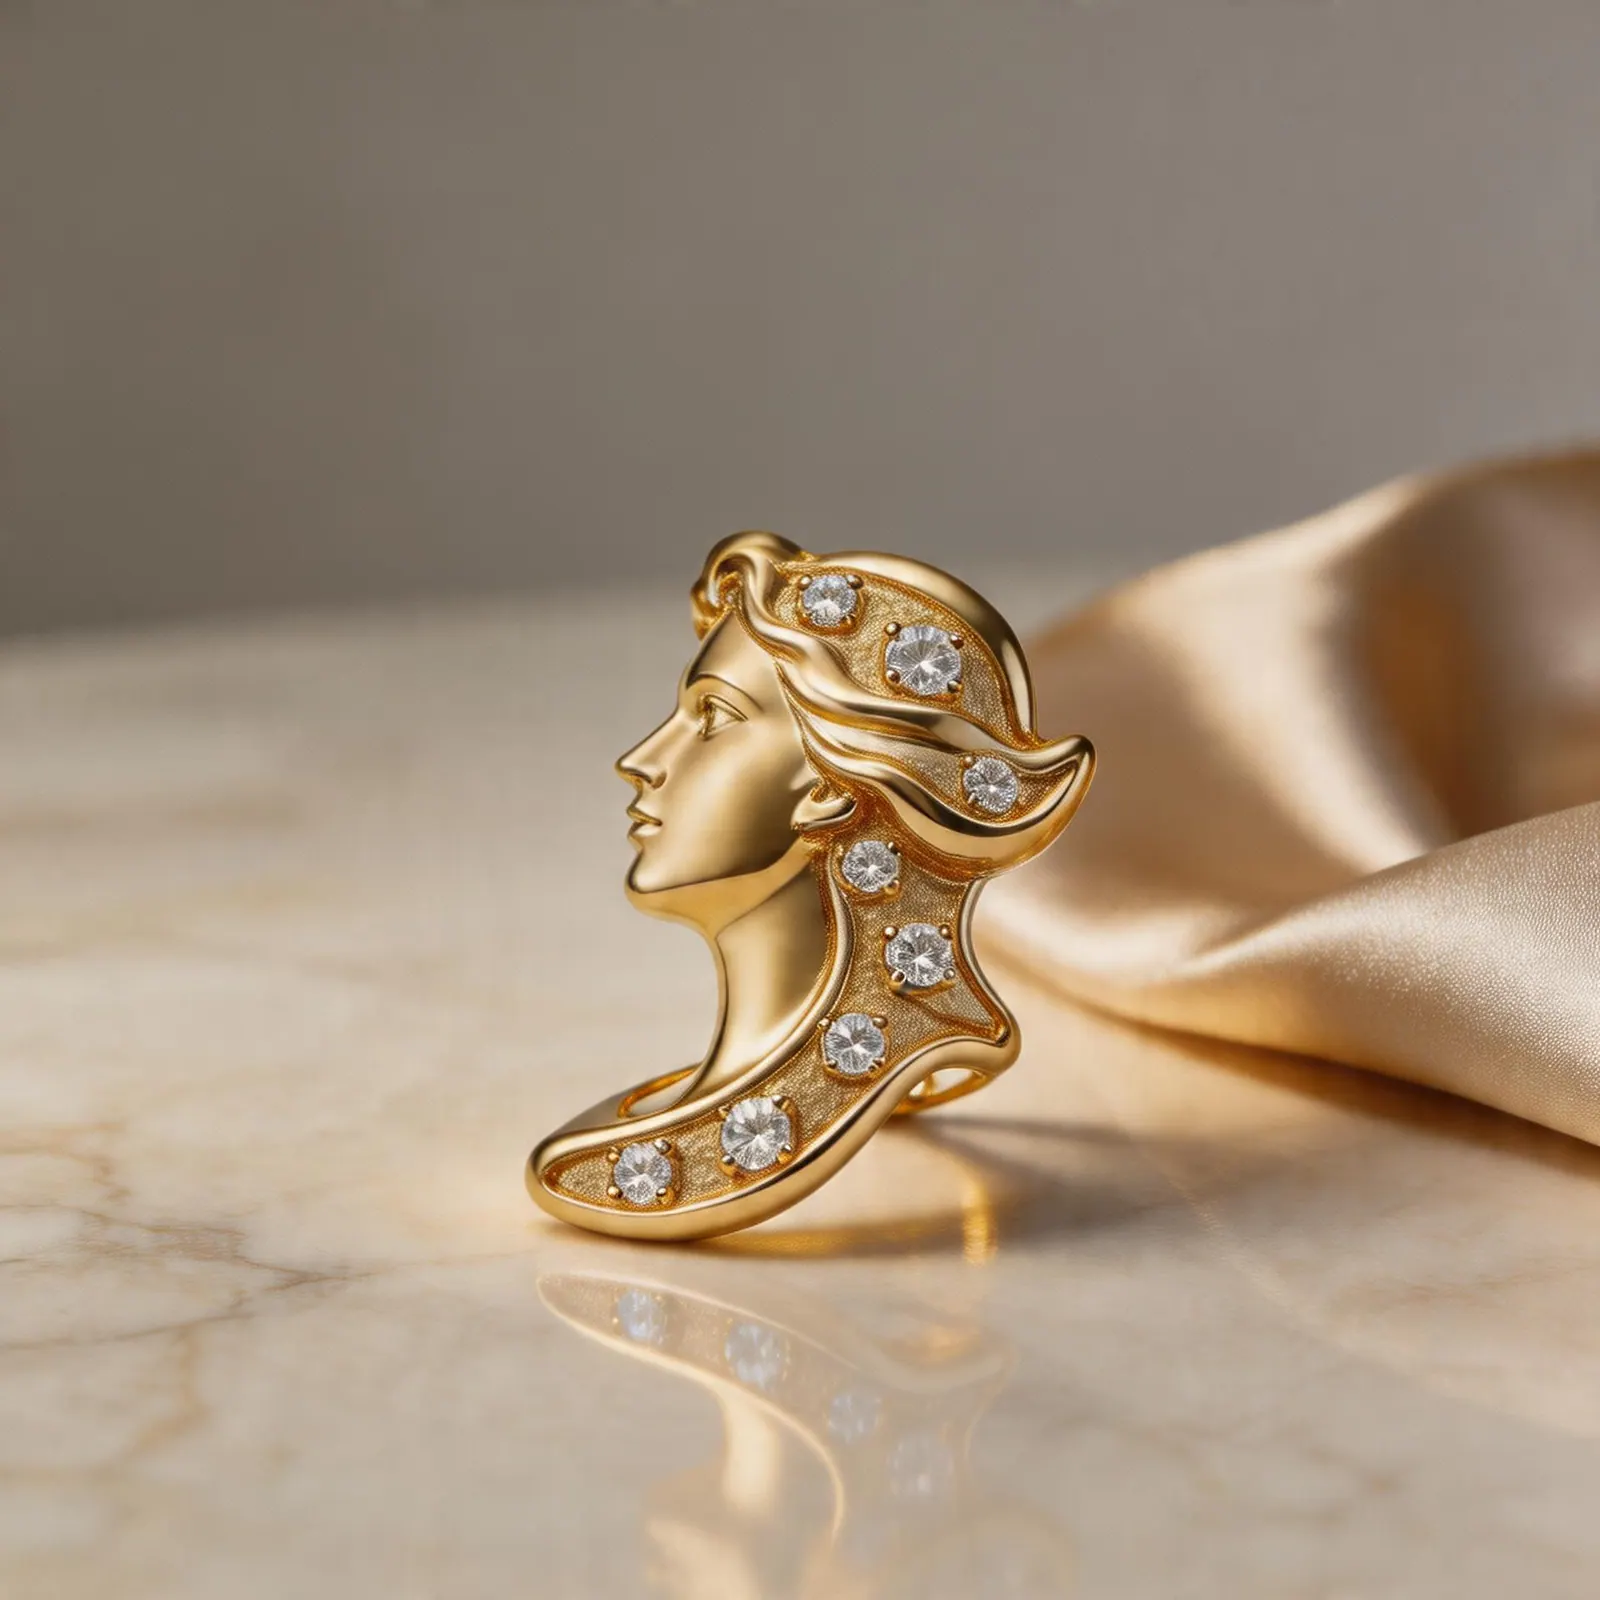
- Gold product to warm editorial lifestyle scene.
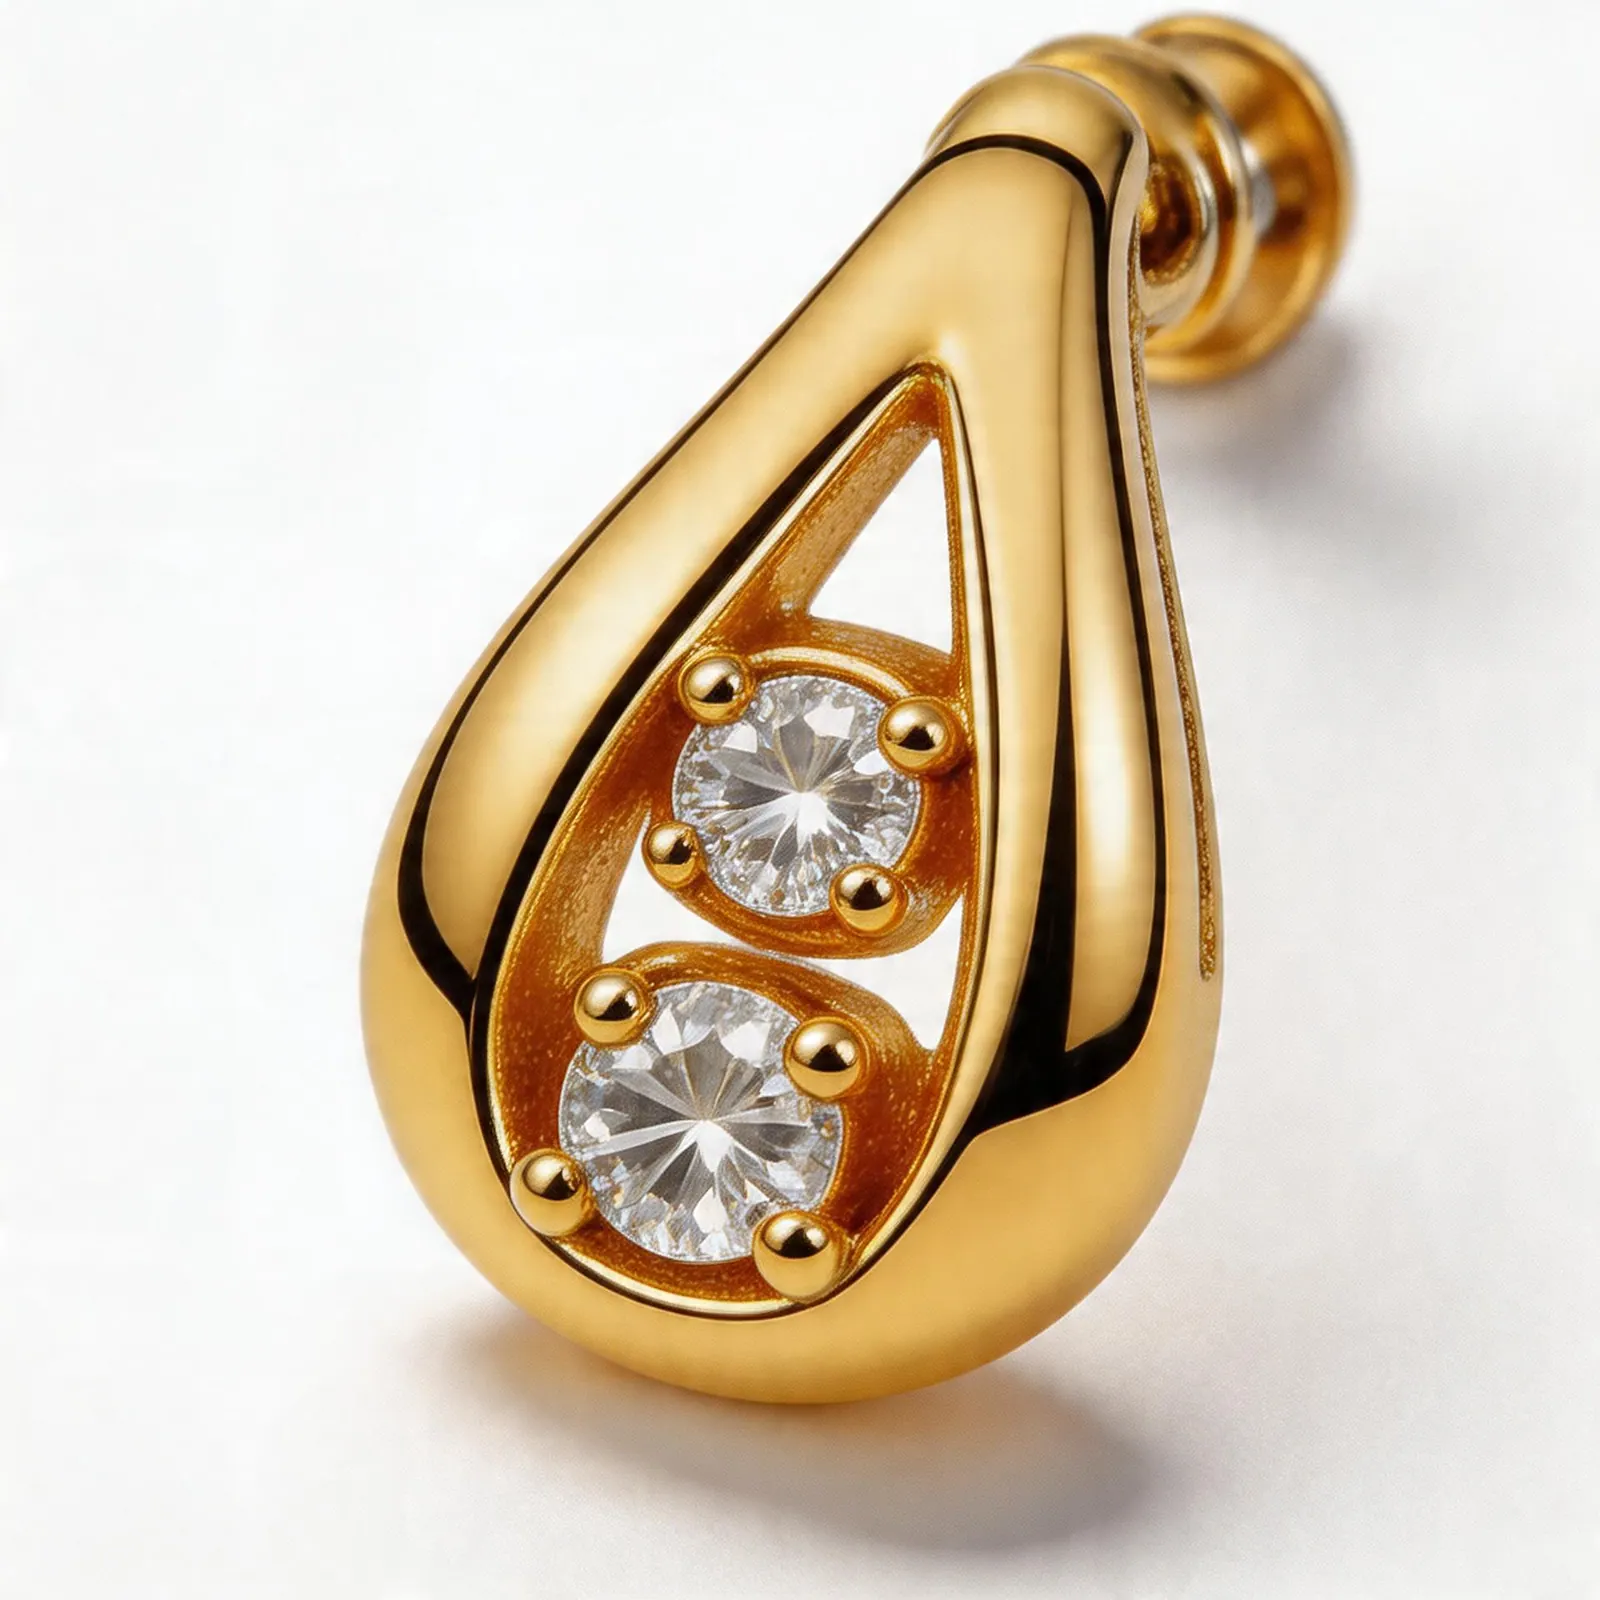
- Gemstone piece to macro detail view.
- Raw launch image to marketplace square thumbnail.
- Single SKU image to coordinated collection set.
What to measure
Track product page view-to-cart rate, image click behavior, email click-through rate, and ad creative hold rate. The best image is not always the prettiest one. It is the one that helps shoppers understand the product faster.
Keep the product truthful
Do not use before/after workflows to hide flaws, change scale, or exaggerate material quality. Use them to present the real piece with less friction and more context.
Practical checklist
What to do next
Refresh the weakest image first: the one that hides product shape, scale, or finish.
Try this workflow in Generate
Use this guide as your QA checklist, then generate the matching jewelry image set from one source photo.
Open GenerateRelated jewelry photo guides
Production planning
Jewelry Product Photography Cost: Studio Shoot vs DIY vs AI-Assisted Workflow
A clear comparison for jewelry sellers deciding when to book a photographer, shoot in-house, or use AI-generated listing assets.
Jewelry image guide
Etsy Ring Photo Ideas That Help Shoppers Click and Compare
Use clean thumbnails, macro detail shots, scale context, and brand scenes to build a stronger Etsy ring gallery.
Jewelry image guide
How to Build a Consistent Shopify Jewelry Collection Image System
A practical system for matching crops, backgrounds, and gallery order across every Shopify jewelry collection.